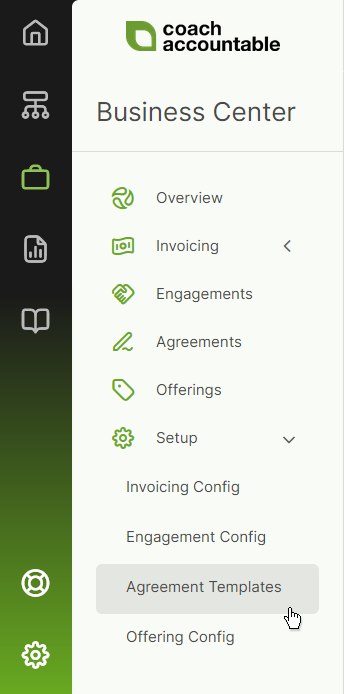
The first step is to create one or more Client Agreement Templates. You’ll find the place to do this in Business Center >> Setup >> Agreement Templates.
Click + Agreement Template to create a new one.
Add a title; this title will be visible to clients, so make sure it's descriptive.
Composing an Agreement Template entails using the typical WYSIWYG editor you’re used to with Worksheets and Session Note templates.
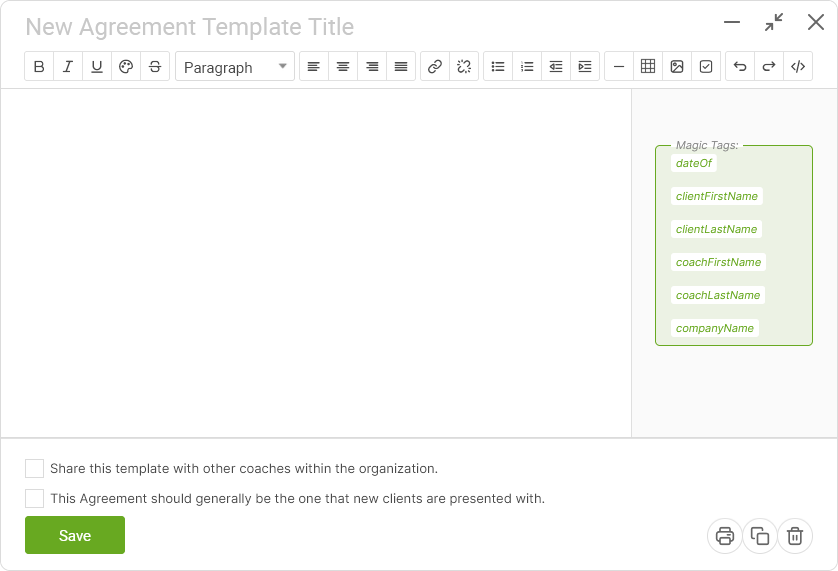
Magic Tags
Notice on the right, there are several magic tags available for automatic customization. These include [clientFirstName] and [clientLastName] (to customize to a given client), and [dateOf], which will set itself to whatever date your client executes the agreement.
If you’re on Team Edition, you’ll also see [coachFirstName] and [coachLastName], allowing you to insert the name of whoever is the client’s primary coach.
Finally, in pre-loaded Agreement Templates, you’re likely to see [businessName] present as a magic tag. This pulls from the name you’ve supplied in Branding (Settings >> System >> Branding >> System Names >> Name of my business).
Form-Based Items
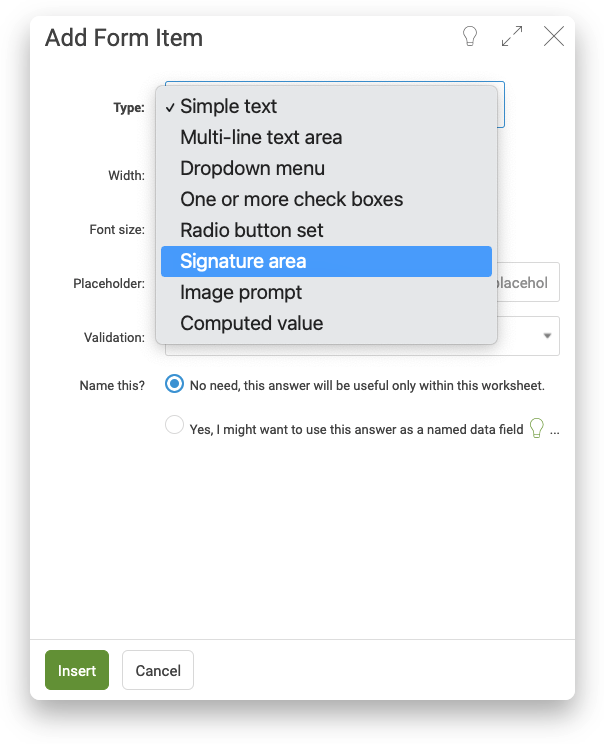
To make a more interactive (and even more legally robust) Agreement, you’ll want to include one or more form inputs, using the “Insert Form Input” button of the WYSIWYG toolbar (4th in from the right). Form inputs include the checkboxes, text inputs, and signature areas mentioned above.
Having a signature area at the bottom of your agreement, preceded by something like “I, [clientFirstName] [clientLastName] hereby agree to the above as of [dateOf]:” is a nice way to wrap up.
The signature box requires a physical signature, whether with the client’s mouse, stylus, or finger.