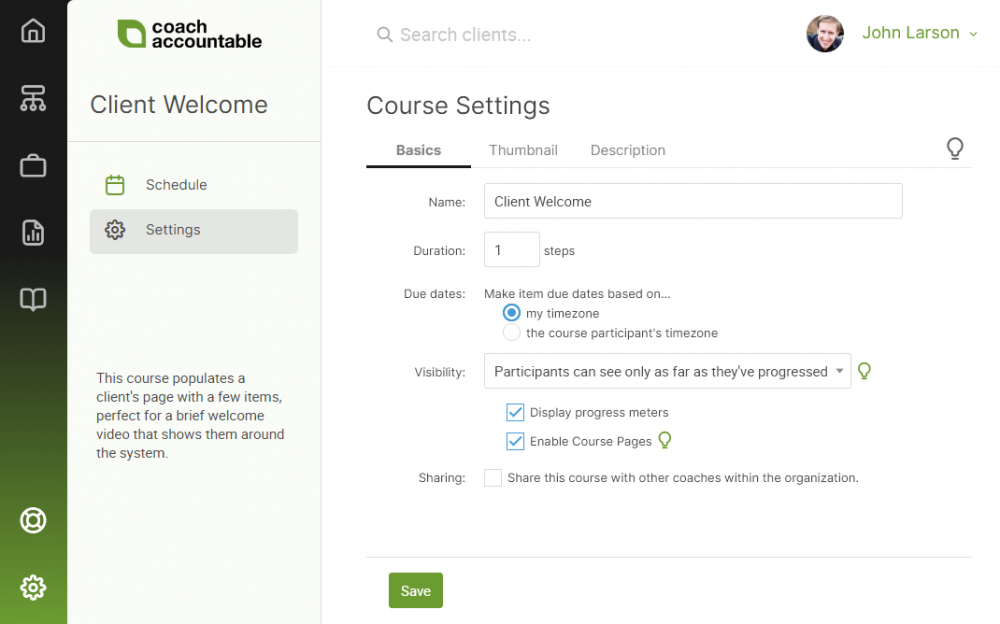
In a Course's Settings section, you'll find the tabs to manage the Basics, the Thumbnail, and the Description.
Basic Settings
In the Basics settings of your course you'll be able to view and change options that were set when originally creating a course.
Name: You can see and update your Course's name here. Note that depending on the visibility settings, clients may see this name, so make sure it's descriptive and suitable for sharing.
Duration: Change the number of days or steps that the Course is to go on for here.
Tip: You can also effectively change the duration from the Course Builder, by adding or removing days or steps.
Tip: Note that you cannot change whether the Course is day-based or step-based in this way. To do so, instead you'll clone the entire Course and change the type as desired when cloning.
Due dates: Regarding time zones, the first option makes due dates based on your timezone, whereas the second option has due dates based the course participant's timezone. The second option means you do less math when thinking about due dates: a 3pm due date for a course item means 3pm for that participant, regardless of where in the world she is.
Please note that this setting does not apply to Groups; when a Group is in a Course, the items will be due based the timezone of the coach who is assigning the Course.
Visibility: In determining the visibility of this Course for your participants, you have three options:
Visibility: In determining the visibility of this Course for your participants, you have three options:
- Totally hidden from participants means that participants don't know they're in a Course; only coaches know. The items delivered by the Course will still be visible as expected - Actions in their Actions area, Worksheets in the Worksheets area, and so on.
- Participants can see only as far as they've progressed means that participants can see they're in a Course, and can see what's already been delivered by the Course. They cannot see what's coming later on.
- Participants can see complete timeline means participants know they're in a Course, can see what's been delivered by the Course, AND can see the roadmap of what's coming up for the rest of the Course. This view of future items entails item names only: they cannot actually jump ahead and do the upcoming work or see the full content.
Display progress meters: This enables a progress meter to show you and clients at a quick glance how far they are through the Course. This is only available for Courses that are visible to clients (select either the second or third option in the Visibility setting above).
Here's how a Course Progress Meter looks in a client's Courses area:

Enable Course Pages: This enables the ability for clients to have one central Course Page to work through the Course content. More on Course Pages and how to use them here.
Sharing: If you're on Team Edition, you can choose whether to share the Course with other members of your organization, meaning they too can put their clients into the Course.
Tip: Even if shared, only you as owner of the Course are able to make edits to it.
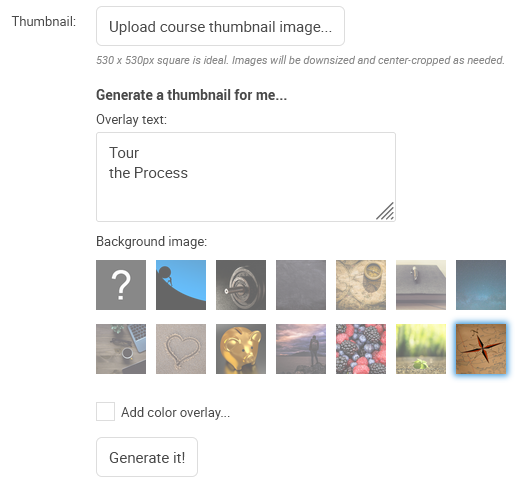
Course Thumbnail
To give your Courses just a little more visual flourish you can upload (or generate) a thumbnail for each. These will appear in the listing of all courses, as well as for your clients in their Courses tab (i.e. where they see the courses they are currently participating in and have participated in in the past).
The image should be a square, 530px by 530px. Click "Upload course thumbnail image..." to upload it.
Can’t be bothered to find or make a pretty image? To make it super easy the system will generate one for you. Just pick a stock image, set any overlay text and any overlay color, and you’re set!
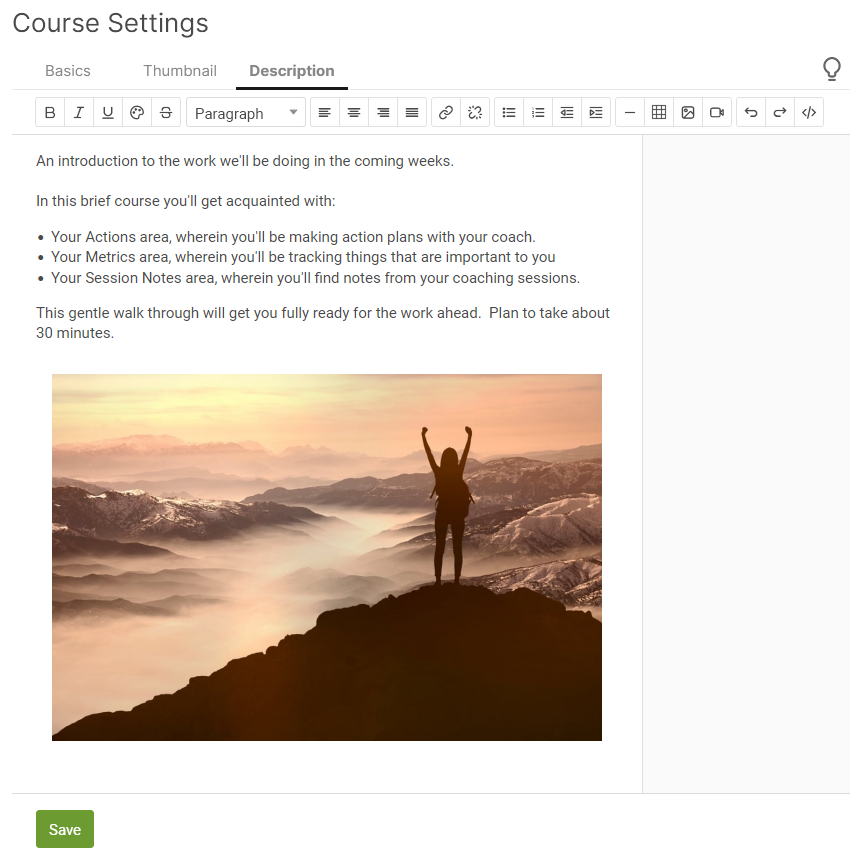
Course Description
You can create a description for your Course in the Description tab. This is used to give clients a preview when they are perusing the Courses you have made available to them.