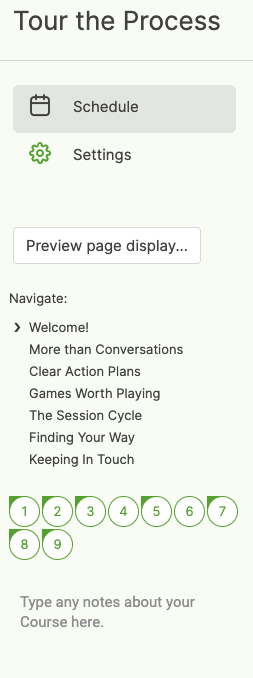
The Navigate menu gives you some visual feedback around how you’ve got your Course laid out. As you add Course Sections, you’ll see a mini menu of the sections you have appear. These mini links allow you to quickly scroll up and down the timeline to jump to a given section.
Furthermore, the navigate map of the numbered Days (or Steps) your course is comprised of will be augmented with a little top-left triangle piece, signifying the presence of a new Course Section start on that day (or step). This visual allows you to get a sense of how your sections are spread out over your timeline, helping you design a nicely balanced breakdown of your course into those sections.
Finally the “Preview page display…” button gives just what you’d expect: you can quickly jump to and experience what the layout AND interactive flow will be like for your clients. Jumping between the preview and builder mode will allow you to iterate quickly as you put the finishing touches to get your Course to perfection. (Moreover, it’s a great way to get familiar with how what you design corresponds to what clients will see… super handy when you’re just getting started!)
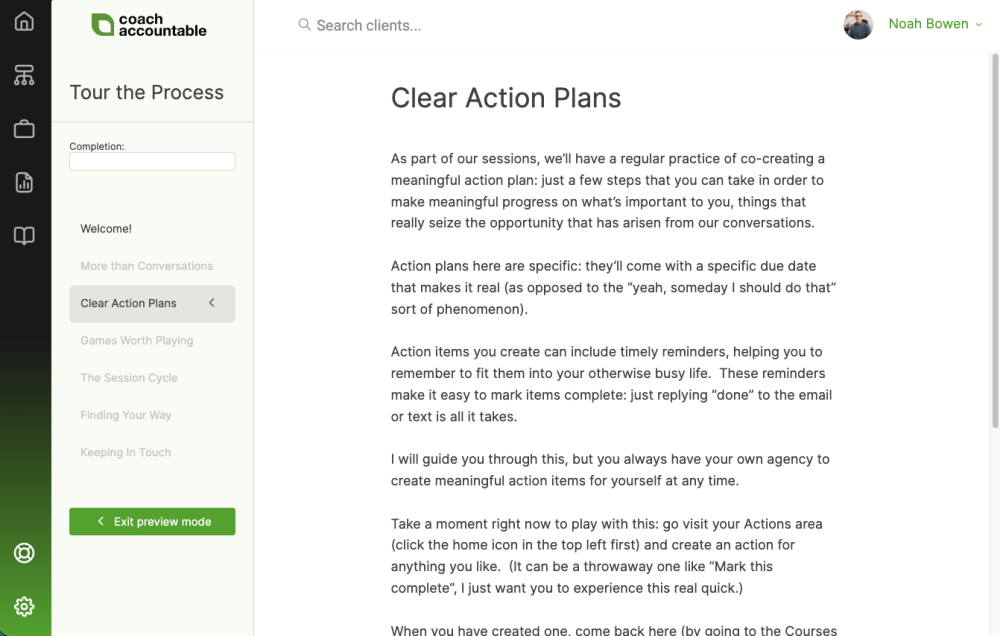
There’s one key way in which your preview experience is different from what your clients ultimately see, and that is you, as course designer, are allowed to freely jump ahead to future sections that are not yet opened up (i.e. those items in the left menu that are greyed out). This allows you to quickly preview ALL sections of our course while under construction, and you can rest assured your clients WON’T be able to violate the sequential nature of the course.
Tips for Designing Course Page Experiences
Because Course Pages really pull for interactive progression as you work through, Course Pages are perhaps best suited to Step-Based Courses. In step-based courses, completion of items in one step move you then on to the next, and this makes for a really satisfying experience of making progress.
That said, you can make Course Pages for a course that is time-based, i.e. dispatching over a span of days. A classic example of this would be a Course spanning several weeks, wherein each week contains its own lesson (for example, wherein new lessons are unlocked on Mondays).
To make that work elegantly as a Course Page, you would put everything for a given lesson on the same day of the timeline, dispatching at the same time of day. To make the interactive “go through these steps to work through the lesson” experience, you can drag items onto timeline day items to have their dispatch follow the completion of those preceding items, like so:

By daisy-chaining you can make sequences as long as you like. The net effect is everything is essentially “ready to go” for the weekly lesson on Monday, and your client can, in self-paced fashion, reveal all of it as they complete the sequence of items. And then the next Monday rolls around, unlocking all items from the next lesson.
By putting a Course Section item at the top of the lessons items, you can send a timed notification email that contains a [loginLink] that magically brings them right to that section of the Course Page. It’s a slick experience to give your clients.