Setting up Scheduled Messages for Your Clients
To set up a scheduled message for your client, you start in the usual way by clicking the little email icon next to their profile picture on their Client Page:

This brings up the message-composing window. You'll notice the "Send later..." button at the bottom of the composing window:
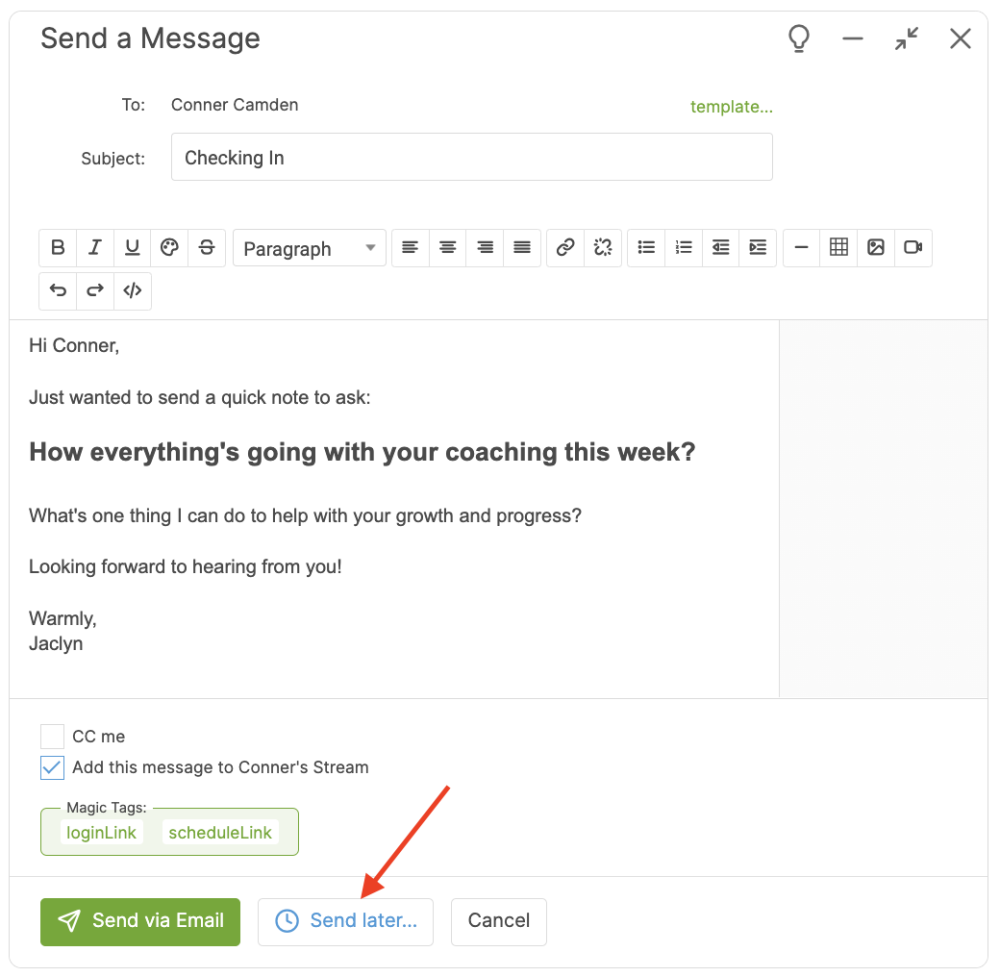
When clicked, you'll be able to select the day and time you’d like your message to be sent:
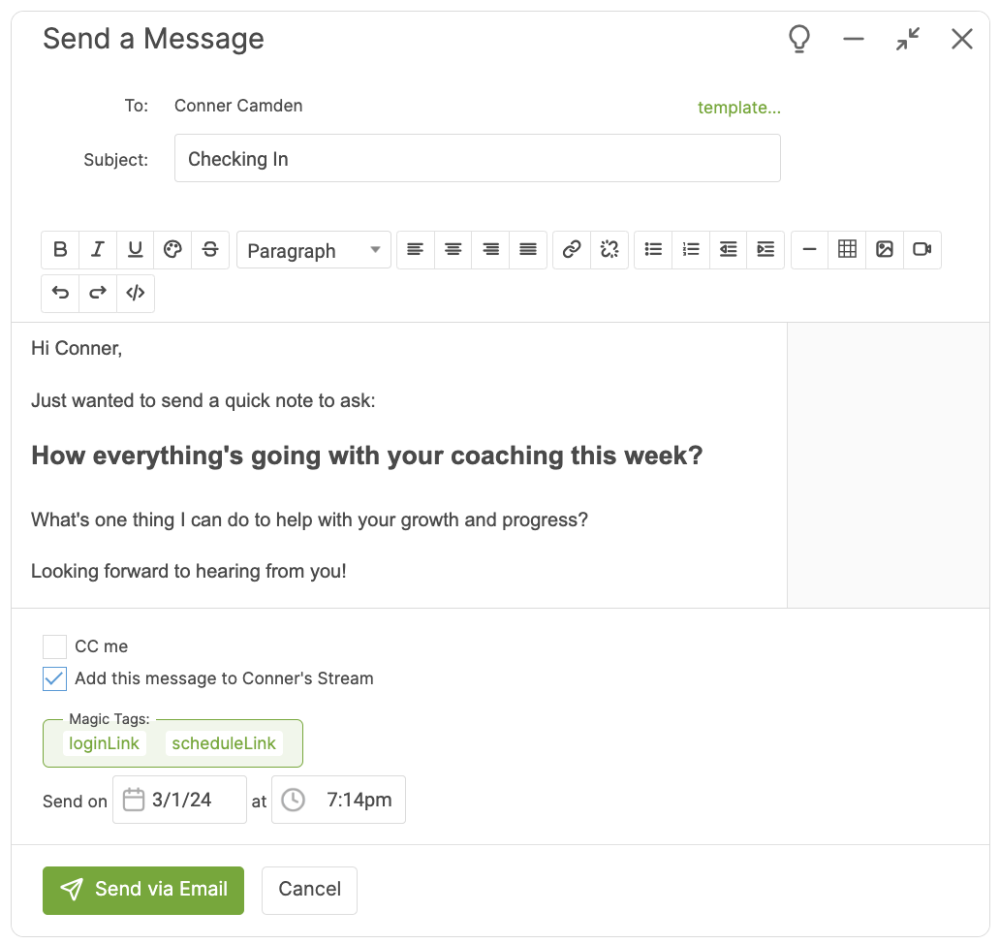
One you put in the day and time, click 'Send Via Email' to schedule the message.
Viewing Future Scheduled Messages
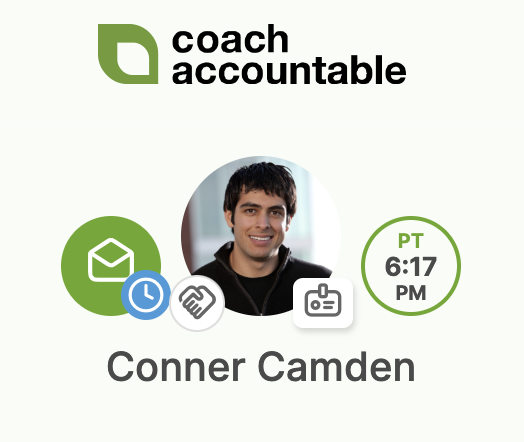
Whenever you’ve got one or more messages that are scheduled to be sent to your client, you’ll notice the email button gains a little extra button:
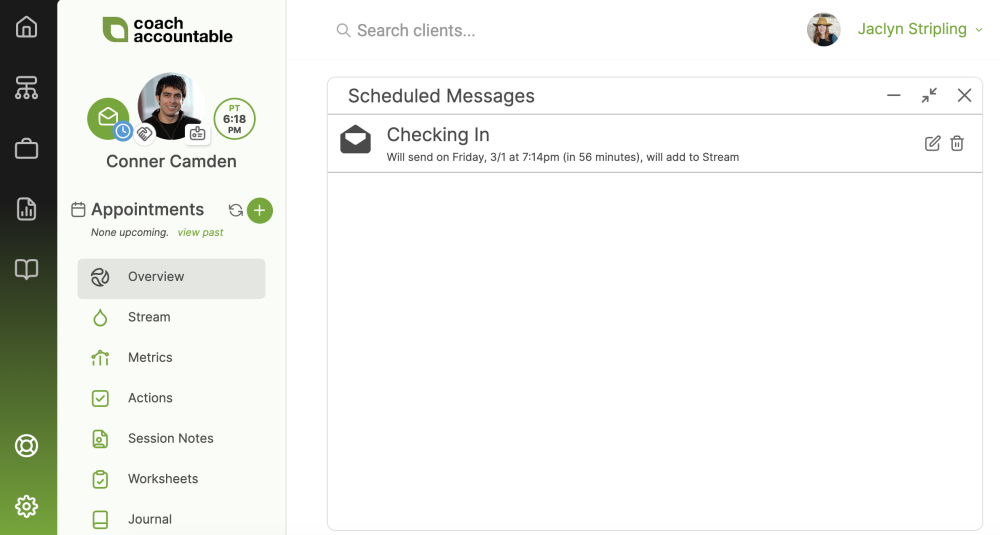
Clicking this little blue clock reveals whatever messages you have scheduled that are yet to go out:
Deleting and Modifying Scheduled Messages
You can cancel any scheduled messages here by clicking the trash icon. That deletes the message fully.
If you want to view (and perhaps modify) the contents of a message you’ve got scheduled, click the edit icon.
Doing so brings up the full compose window once again, wherein you can even revise decisions to CC yourself (or not) and add to the client’s Stream (or not):
 Want the message to be sent immediately? Just change the sending date & time to anything that’s now or earlier.
Scheduled messages you set to CC yourself will arrive in your inbox at the same time your client receives them.
Scheduling Messages for Groups
There's no way to schedule Messages for Groups quite like there is for individual clients, but there is one workaround that will let you schedule Messages and anything else, and that is a Course.
Automating Scheduled Message Sequences